SpringBoot——Spring Boot 中使用 Servlet
1 Spring Boot 中使用 ServletSpring Boot 中使用 Servlet有两种方式方式一:通过注解扫描方式实现方式二:通过 SpringBoot 的配置类实现(组件注册)2 方式一:通过注解扫描方式实现创建一个servlet类package com.liuhaiyang.springboot.servlet;import javax.servlet.ServletExcep
·
1 Spring Boot 中使用 Servlet
Spring Boot 中使用 Servlet有两种方式
方式一: 通过注解扫描方式实现
方式二:通过 SpringBoot 的配置类实现(组件注册)
2 方式一: 通过注解扫描方式实现
创建一个servlet类
package com.liuhaiyang.springboot.servlet;
import javax.servlet.ServletException;
import javax.servlet.annotation.WebServlet;
import javax.servlet.http.HttpServlet;
import javax.servlet.http.HttpServletRequest;
import javax.servlet.http.HttpServletResponse;
import java.io.IOException;
//servlet第一种方式
@WebServlet(urlPatterns = "/myservlet") //定义请求路径,通过该路径能访问到这个servlet
public class MyServlet extends HttpServlet {
@Override
protected void doGet(HttpServletRequest req, HttpServletResponse resp) throws ServletException, IOException {
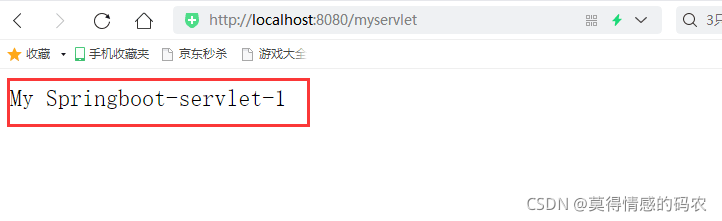
resp.getWriter().println("My Springboot-servlet-1");
resp.getWriter().flush();
resp.getWriter().close();
}
@Override
protected void doPost(HttpServletRequest req, HttpServletResponse resp) throws ServletException, IOException {
super.doPost(req, resp);
}
}
在SpringBoot项目的入口类上方使用注解 @ServletComponentScan 注解来扫描Servlet中的注解即可。
package com.liuhaiyang.springboot;

import org.springframework.boot.SpringApplication;
import org.springframework.boot.autoconfigure.SpringBootApplication;
import org.springframework.boot.web.servlet.ServletComponentScan;

@SpringBootApplication
@ServletComponentScan(basePackages = "com.liuhaiyang.springboot.servlet")   //第一种的注解
public class SpringbootTest13Application {

    public static void main(String[] args) {
        SpringApplication.run(SpringbootTest13Application.class, args);
    }

}
结果截图:
2 方式二:通过 SpringBoot 的配置类实现(组件注册)
再次创建一个Servlet类。
package com.liuhaiyang.springboot.servlet2;
import javax.servlet.ServletException;
import javax.servlet.annotation.WebServlet;
import javax.servlet.http.HttpServlet;
import javax.servlet.http.HttpServletRequest;
import javax.servlet.http.HttpServletResponse;
import java.io.IOException;
//servlet第二种方式
public class MyServlet extends HttpServlet {
@Override
protected void doGet(HttpServletRequest req, HttpServletResponse resp) throws ServletException, IOException {
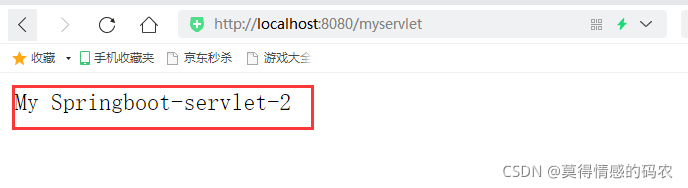
resp.getWriter().println("My Springboot-servlet-2");
resp.getWriter().flush();
resp.getWriter().close();
}
@Override
protected void doPost(HttpServletRequest req, HttpServletResponse resp) throws ServletException, IOException {
super.doPost(req, resp);
}
}
编写一个 Spring Boot 的配置类,在该类中注册 Servlet
创建 ServletConfig 配置类
package com.liuhaiyang.springboot.config;

import com.liuhaiyang.springboot.servlet2.MyServlet;
import org.springframework.boot.web.servlet.ServletRegistrationBean;
import org.springframework.context.annotation.Bean;
import org.springframework.context.annotation.Configuration;

@Configuration //该注解将此类定义为配置类(相当于一个xml文件)
public class ServletConfig {
    //@Bean是一个方法级别上的注解,主要用于配置类里 相当于<beans> <bean id="" class="" > </beans>
    @Bean
    public ServletRegistrationBean myServletRegistrationBean(){
        ServletRegistrationBean servletRegistrationBean=new ServletRegistrationBean(new MyServlet(),"/myservlet");
        return servletRegistrationBean;
    }
}
启动测试类
package com.liuhaiyang.springboot;

import org.springframework.boot.SpringApplication;
import org.springframework.boot.autoconfigure.SpringBootApplication;

@SpringBootApplication
public class SpringbootTest13Application {

    public static void main(String[] args) {
        SpringApplication.run(SpringbootTest13Application.class, args);
    }

}
结果截图:

CSDN联合极客时间,共同打造面向开发者的精品内容学习社区,助力成长!
更多推荐


 8
8 0
0- 0


 已为社区贡献1条内容

所有评论(0)