MinIO安装和基本使用
文章目录简介安装(Docker)Java API简介MinIO是一款高性能的对象存储容器,适合存储大量的非结构化数据,例如:图片、视频、Word等文件。安装(Docker)拉取镜像docker pull minio/minio创建并运行容器docker run -it --name minio -p 9000:9000 -p 9001:9001 -d \-v /usr/local/docker/m
·
1. 简介
MinIO是一款高性能的对象存储容器,适合存储大量的非结构化数据,例如:图片、视频、Word等文件。此外,它还自带非常方便的可视化界面,简直是运维的最爱啊。
2. 安装(Docker)
- 拉取镜像
docker pull minio/minio
- 创建并运行容器
docker run -it --name minio -p 9000:9000 -p 9001:9001 -d \
-v /usr/local/docker/minio/data:/data \
-v /usr/local/docker/minio/config:/root/.minio \
-e 'MINIO_ROOT_USER=admin' \
-e 'MINIO_ROOT_PASSWORD=admin123' \
minio/minio server /data --console-address ":9001"
-
查看容器日志,启动成功。账号:admin,密码:admin123:
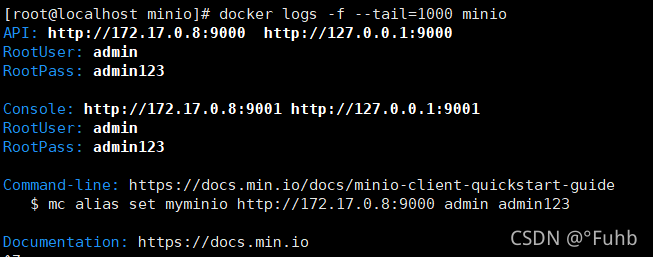
9000:API调用端口
9001:控制台端口,不指定他会随机生成。注:控制台用9000也能打开,最终会跳转到9001,效果一样的 -
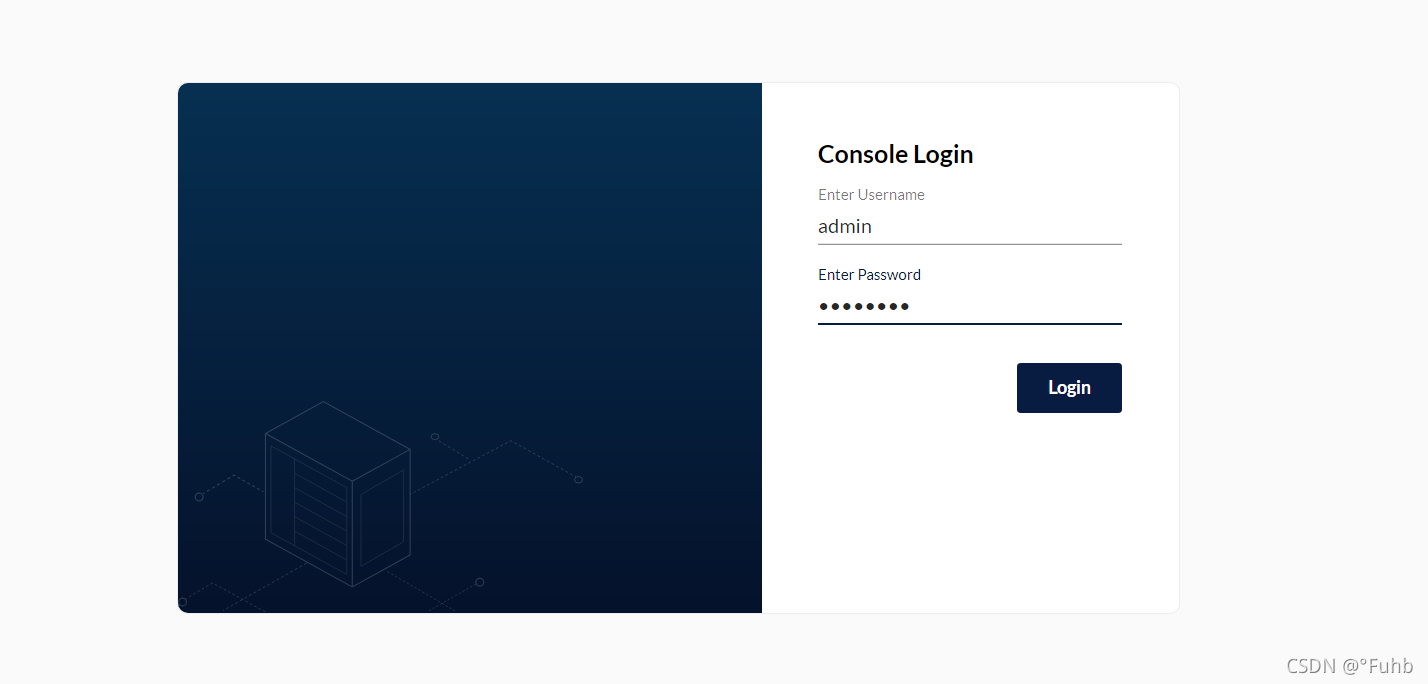
随后,在浏览器打开9000端口,分别输入上面的账号密码,登录即可
3. Java API
3.1 准备工作
这里以Java语言为例,框架以SpringBoot为例,调用Minio API进行相关操作
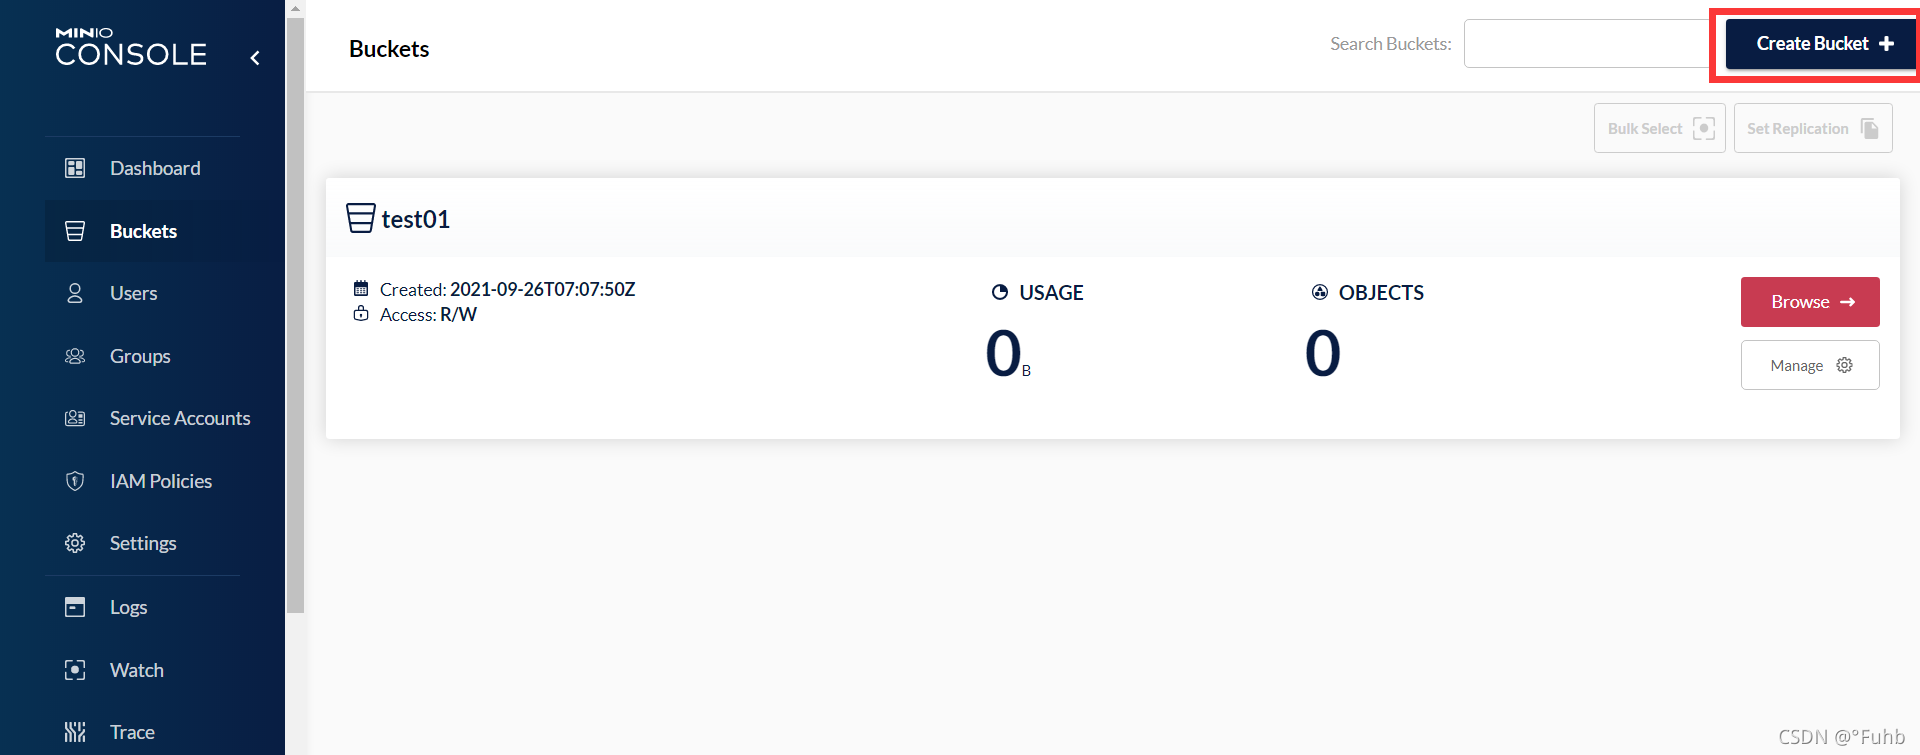
- 首先,在上面的可视化界面点击左侧 Buckets 菜单,创建一个Bucket,命名为 test01
- 然后,进入实例代码
- 使用maven引用minio依赖
	<dependency>
      <groupId>io.minio</groupId>
      <artifactId>minio</artifactId>
      <version>8.3.0</version>
      <exclusions>
        <exclusion>
          <groupId>com.squareup.okhttp3</groupId>
          <artifactId>okhttp</artifactId>
        </exclusion>
      </exclusions>
    </dependency>

    <dependency>
      <groupId>com.squareup.okhttp3</groupId>
      <artifactId>okhttp</artifactId>
      <version>4.8.1</version>
    </dependency>
- 建一个 MinioUtil 操作类,并实例化 MinioClient 对象
public class MinioUtil {

    private static MinioClient client;

    static {
        try {
            client = MinioClient.builder()
                    .endpoint(new URL("http://192.168.25.129:9000"))
                    .credentials("admin", "admin123")
                    .build();
        } catch (MalformedURLException e) {
            e.printStackTrace();
        }
    }
}
3.2 文件上传
- 在 MinioUtil 补充2个上传方法:上传本地文本、上传MultipartFile
    /**
     * 上传本地文件
     */
    public static ObjectWriteResponse upload(String bucket, String localFileName, String remoteFileName) throws Exception{
        File file = new File(localFileName);
        FileInputStream fileInputStream = new FileInputStream(file);
        return client.putObject(PutObjectArgs.builder()
                .stream(fileInputStream, file.length(), PutObjectArgs.MIN_MULTIPART_SIZE)
                .object(remoteFileName)
                .bucket(bucket)
                .build());
    }

    /**
     * 上传MultipartFile
     */
    public static ObjectWriteResponse upload(String bucket, MultipartFile file, String remoteFileName) throws Exception {
        return client.putObject(PutObjectArgs.builder()
                .bucket(bucket)
                .stream(file.getInputStream(), file.getSize(), PutObjectArgs.MIN_MULTIPART_SIZE)
                .object(remoteFileName)
                .build());
    }
- 创建 MinioController ,加2个接口分别测试上传:
@RestController
@RequestMapping("/minio")
public class MinioController {

    /**
     * 上传本地文件
     */
    @GetMapping("/uploadLocalFile")
    public String uploadLocalFile() throws Exception{
        ObjectWriteResponse resp = MinioUtil.upload("test01", "E:\\测试文件.txt", getDatePath()+"test.txt");
        return "上传成功";
    }
    /**
     * 上传MultipartFile
     */
    @PostMapping("/uploadMultipartFile")
    public String uploadMultipartFile(MultipartFile file) throws Exception {
        ObjectWriteResponse resp = MinioUtil.upload("test01", file, getDatePath() + file.getOriginalFilename());
        return "上传成功";
    }

    private String getDatePath(){
        LocalDateTime now = LocalDateTime.now();
        return String.format("/%s/%s/%s/", now.getYear(), now.getMonthValue(), now.getDayOfMonth());
    }
}
- 执行完毕后,在 test01 这个 bucket 底下,会创建 /2021/09/27/ 的目录,并且将文件上传到该目录下

3.3 文件下载
- 修改 MinioUtil,增加 2 个下载方法,分别是下载到本地和浏览器打开下载
    /**
     * 下载文件到本地
     */
    public static void downLocal(String bucket, String remoteFileName, String localFileName) throws Exception {
        client.downloadObject(DownloadObjectArgs.builder()
                .bucket(bucket)
                .object(remoteFileName)
                .filename(localFileName)
                .build());
    }

    /**
     * 下载文件写入HttpServletResponse
     */
    public static void downResponse(String bucket, String remoteFileName, HttpServletResponse response) throws Exception {
        GetObjectResponse object = client.getObject(GetObjectArgs.builder()
                .bucket(bucket)
                .object(remoteFileName)
                .build());
        response.setHeader("Content-Disposition", "attachment;filename=" + remoteFileName.substring(remoteFileName.lastIndexOf("/")+1));
        response.setContentType("application/force-download");
        response.setCharacterEncoding("UTF-8");
        IOUtils.copy(object, response.getOutputStream());
    }
- 修改 MinioController,增加2个对应的接口
    /**
     * 下载文件到本地
     */
    @PostMapping("/downLocal")
    public String downLocal() throws Exception {
        MinioUtil.downLocal("test01", "/2021/9/27/test.txt", "test.txt");
        return "下载成功";
    }

    /**
     * 下载文件写入HttpServletResponse
     */
    @GetMapping("/downResponse")
    public void downResponse(HttpServletResponse response) throws Exception {
        MinioUtil.downResponse("test01", "/2021/9/27/test.txt", response);
    }
分别访问这2个接口就可以测试,这边就不演示了
4. 设置永久下载地址
前面讲的例子是调用 Minio API 获取文件,从而实现下载功能。此外,minio 也允许通过文件地址直接下载。
- 打开 Bucket,点击 Manage 进行设置管理
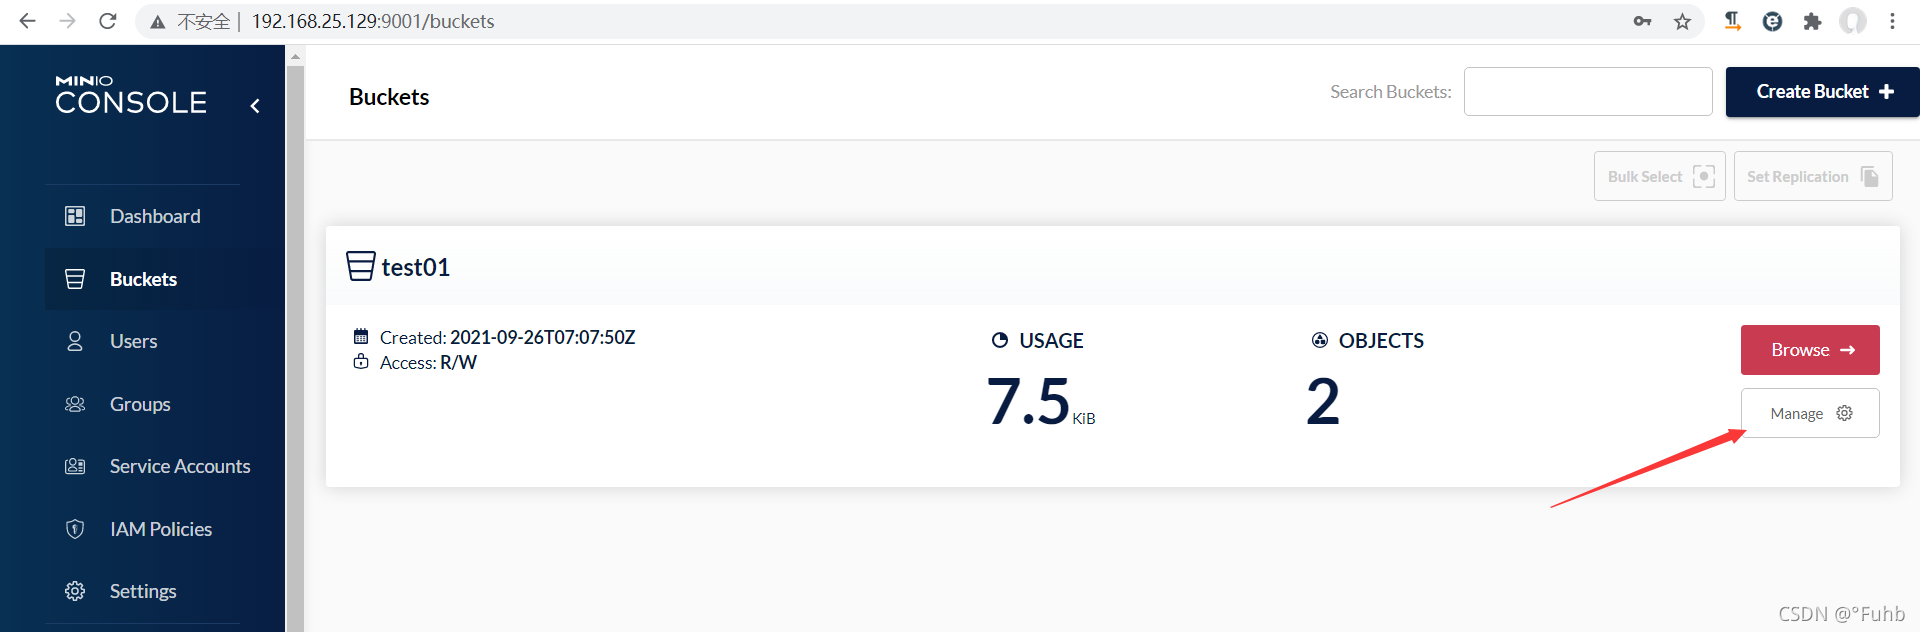
- 点击这里的 Private,把它改成 Public
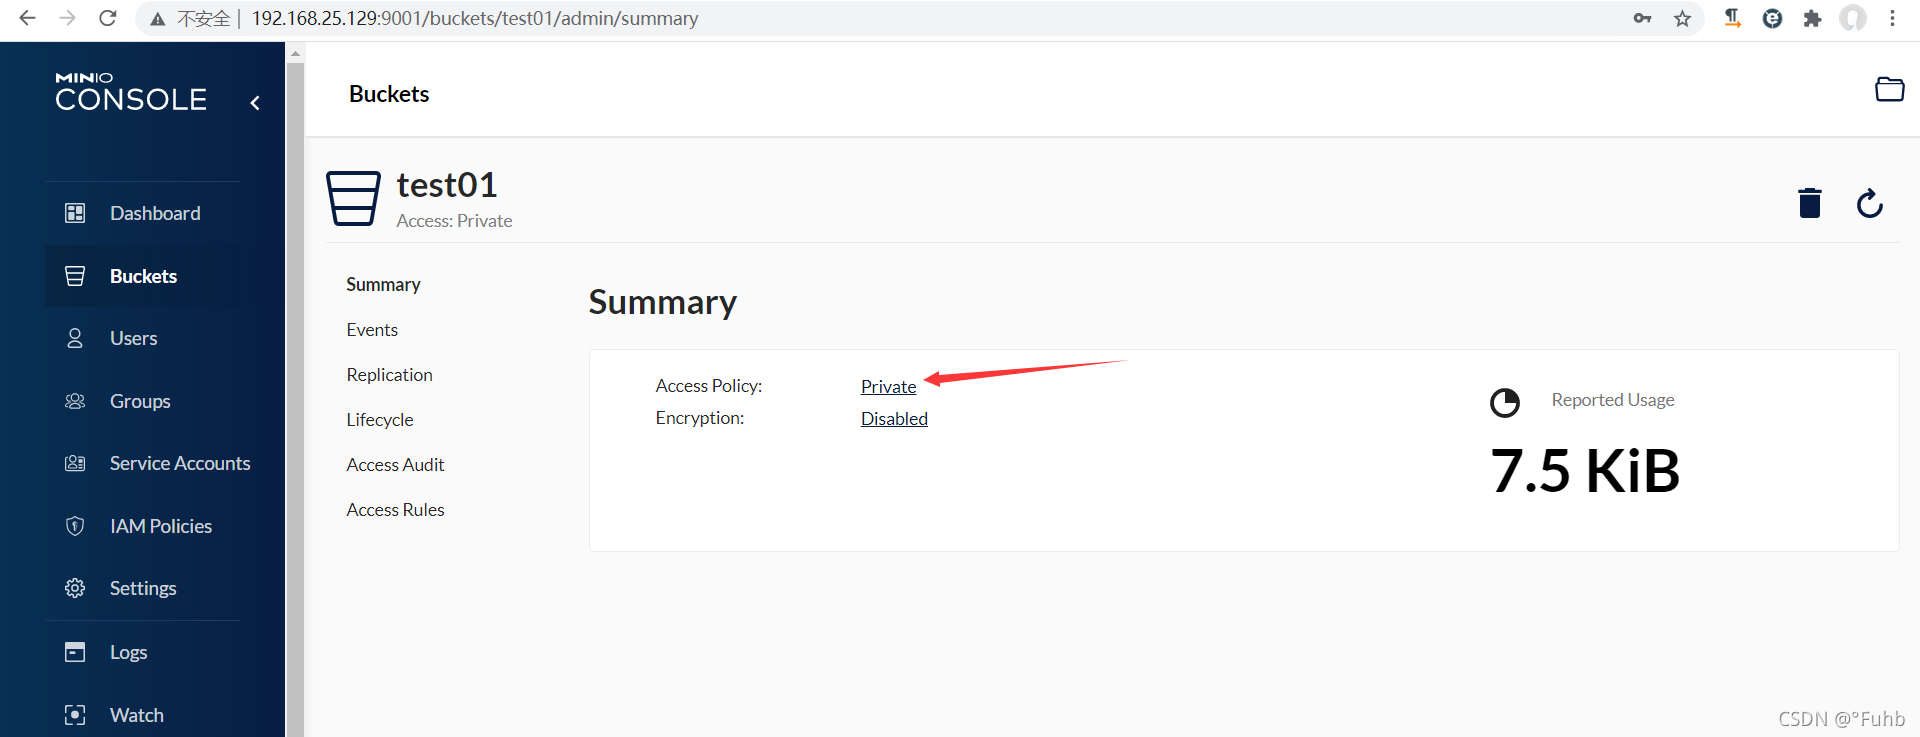
- 以这个文件为例,下载地址就是 http://192.168.25.129:9000/test01/2021/9/27/test.txt,直接从浏览器打开就可以测试。

CSDN联合极客时间,共同打造面向开发者的精品内容学习社区,助力成长!
更多推荐


 2
2 0
0- 0


 已为社区贡献1条内容

所有评论(0)