maskrcnn + windows +anaconda
·
作者原文链接:
https://github.com/facebookresearch/maskrcnn-benchmark/blob/master/INSTALL.md
1.创建虚拟环境
conda create --name maskrcnn
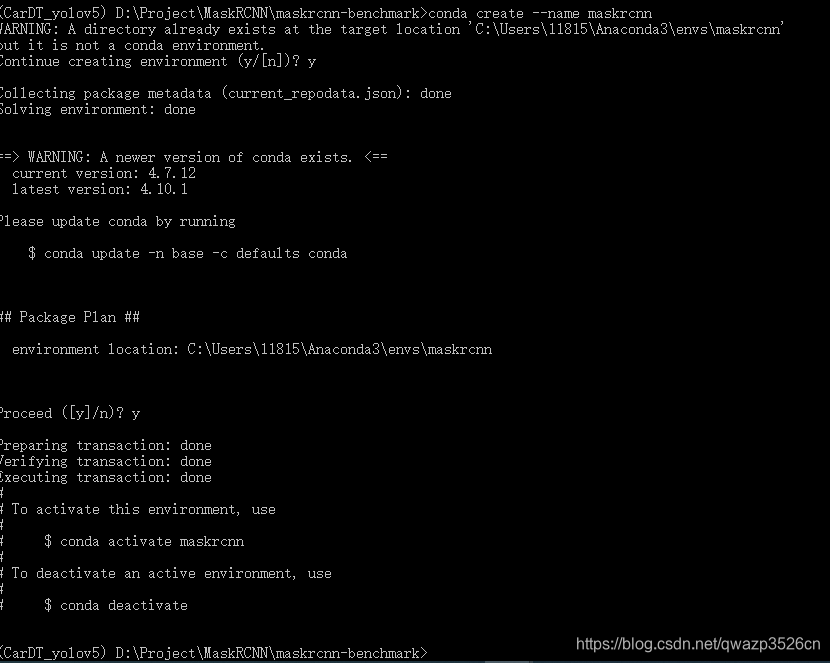
2.进入虚拟环境
conda activate maskrcnn接下来我就换成pychram来写了
3.安装ipython
conda install ipython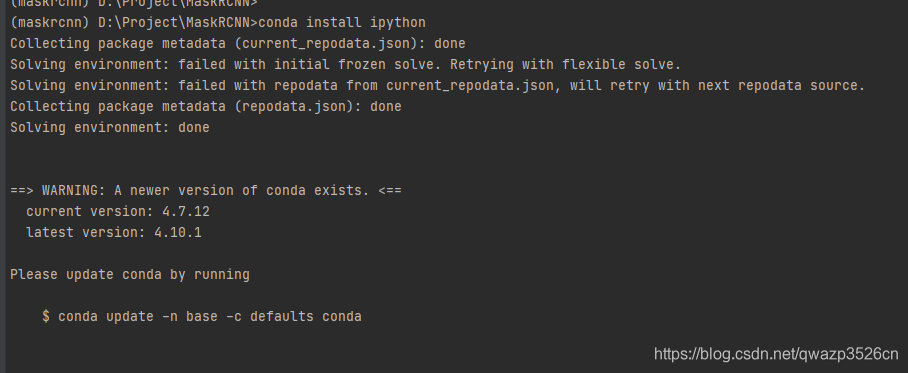
4.安装opencv等
pip install ninja yacs cython matplotlib tqdm opencv-python
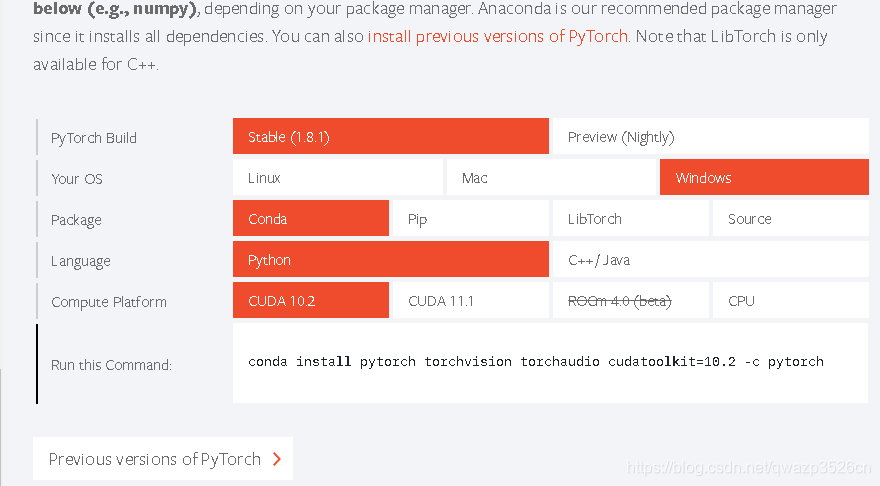
5.装pytorch
conda install -c pytorch pytorch-nightly torchvision cudatoolkit=10.2 -c pytorch
在这里查找自己的版本
在这之前安装一下git
conda install git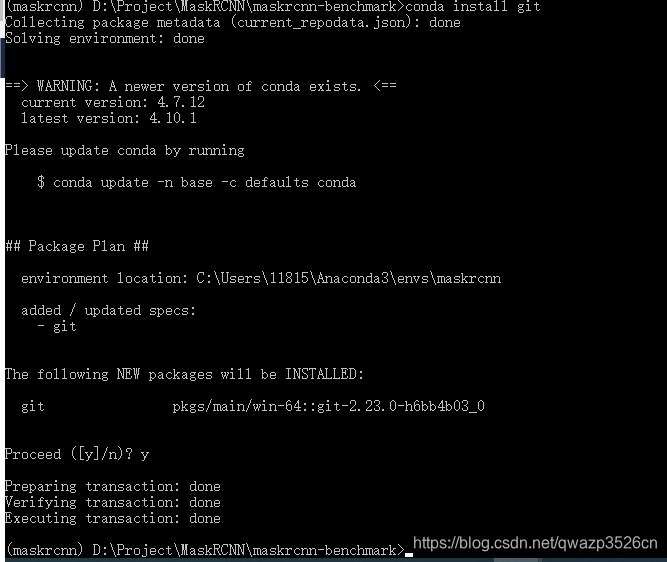
这里提醒一点 安装pytorch的时候一定要确认一下是否是安装上去了
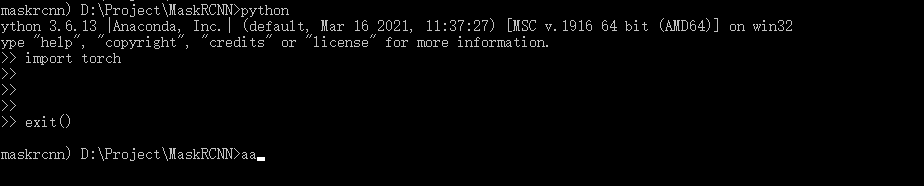
6.安装 pycocotools
git clone https://github.com/cocodataset/cocoapi.git

    #To prevent installation error do the following after commiting cocooapi :
    #using file explorer  naviagate to cocoapi\PythonAPI\setup.py and change line 14 from:
    #extra_compile_args=['-Wno-cpp', '-Wno-unused-function', '-std=c99'],
    #to
    #extra_compile_args={'gcc': ['/Qstd=c99']},
    #Based on  https://github.com/cocodataset/cocoapi/issues/51

cd cocoapi/PythonAPI
python setup.py build_ext install
7.安装apex
# navigate back to INSTALL_DIR
cd ..
cd ..
# install apex

git clone https://github.com/NVIDIA/apex.git
cd apex
python setup.py install --cuda_ext --cpp_ext
发现安装的时候不行 只有降级版本的 降级为10.1版本
然后注释掉apex里面171行

应该是可以了
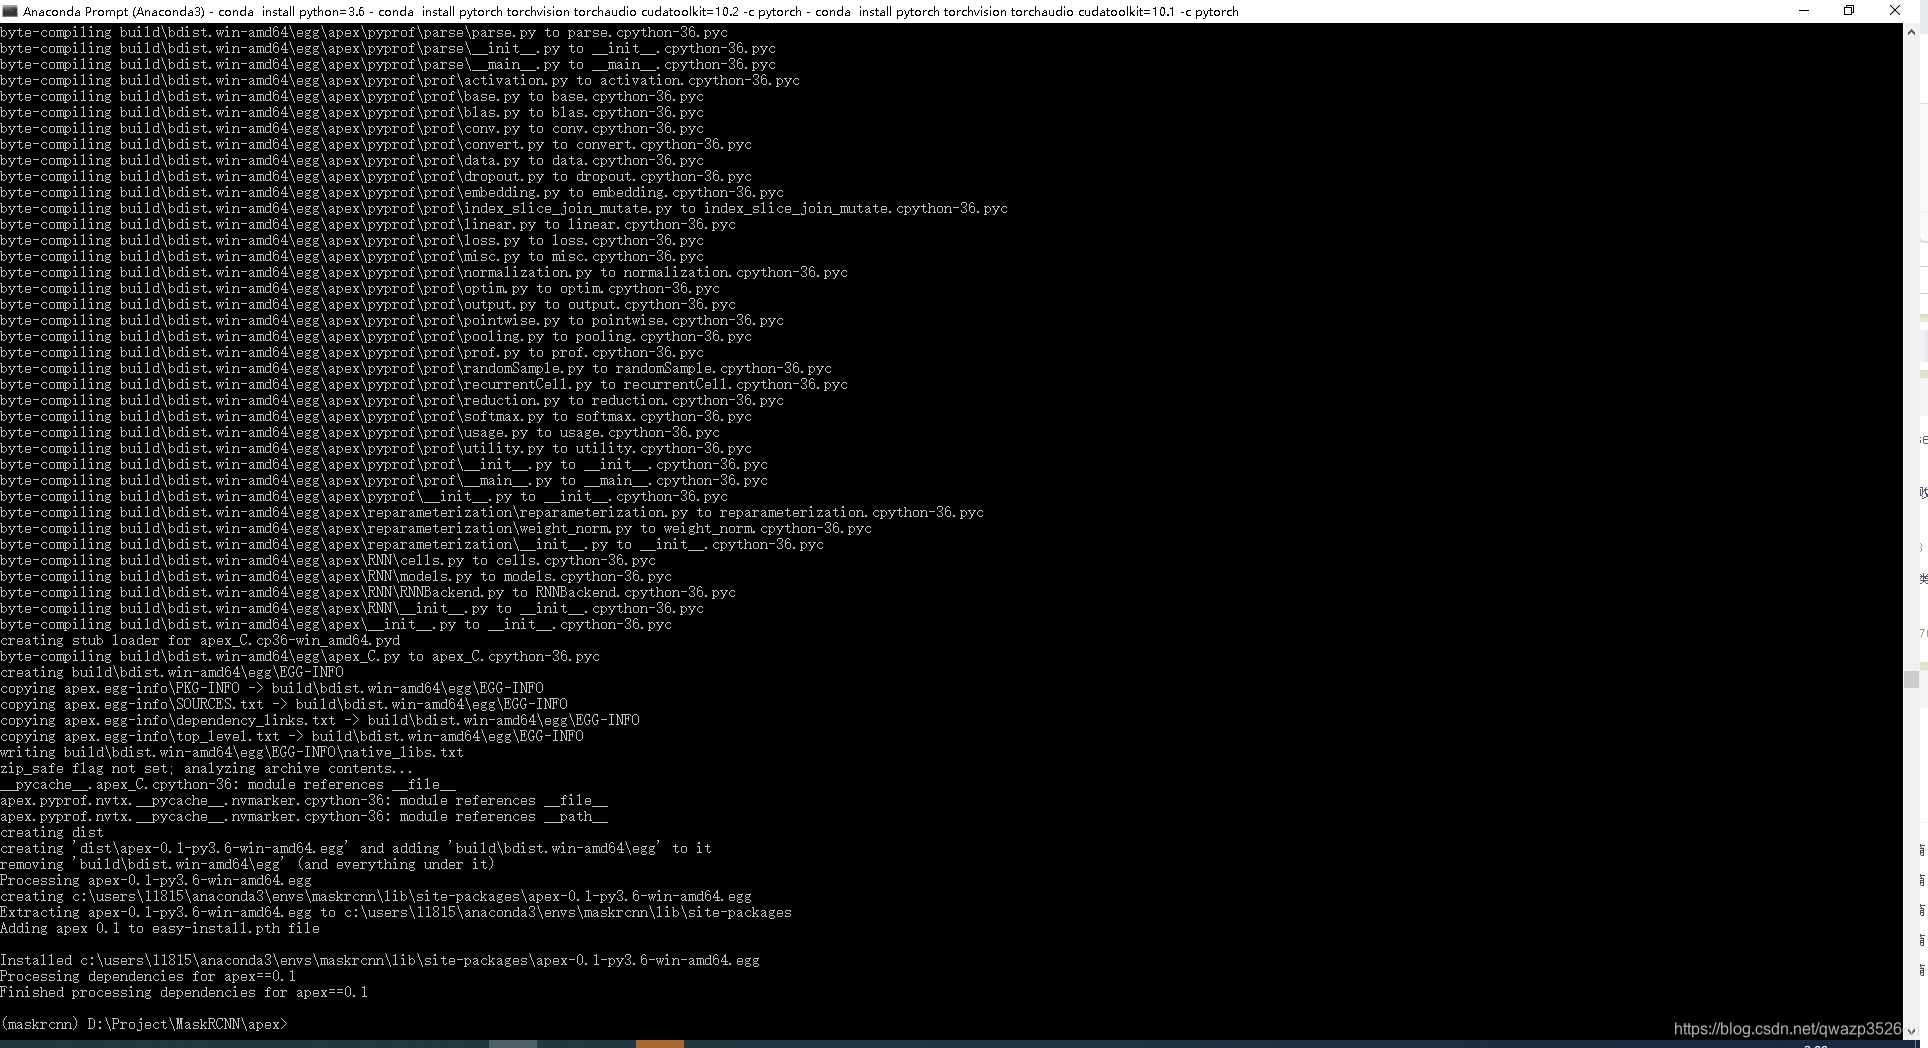
8.安装maskrcnn-benchmark
git clone https://github.com/Idolized22/maskrcnn-benchmark.git
cd maskrcnn-benchmark

# the following will install the lib with
# symbolic links, so that you can modify
# the files if you want and won't need to
# re-build it
python setup.py build develop
最后一步出问题 先放弃一下没时间了之后再来做吧

CSDN联合极客时间,共同打造面向开发者的精品内容学习社区,助力成长!
更多推荐

 0
0 0
0- 0


 已为社区贡献1条内容

所有评论(0)