【Linux】基于CentOS搭建Python的Django环境
文章目录确定Python环境安装 `setuptools` 工具下载与安装 Django下载 Django解压 Django安装 Django项目运行新建 HelloWorld 项目启动项目确定Python环境$ pythonPython 2.7.5 (default, Apr2 2020, 13:16:51)[GCC 4.8.5 20150623 (Red Hat 4.8.5-39)] on l
·
文章目录
确定Python环境
$ python
Python 2.7.5 (default, Apr  2 2020, 13:16:51)
[GCC 4.8.5 20150623 (Red Hat 4.8.5-39)] on linux2
Type "help", "copyright", "credits" or "license" for more information.
安装 setuptools 工具
为什么需要安装 setuptools 工具?因为之后我们需要安装 Django ,而 Django 需要用这个工具,所以我们需要先安装 setuptools 工具。
$ yum install python-setuptools -y
Loaded plugins: fastestmirror, langpacks
Loading mirror speeds from cached hostfile
epel                                                        | 4.7 kB  00:00:00
extras                                                      | 2.9 kB  00:00:00
os                                                          | 3.6 kB  00:00:00
updates                                                     | 2.9 kB  00:00:00
(1/2): epel/7/x86_64/updateinfo                             | 1.0 MB  00:00:00
(2/2): epel/7/x86_64/primary_db                             | 7.0 MB  00:00:00
Package python-setuptools-0.9.8-7.el7.noarch already installed and latest version
Nothing to do
下载与安装 Django
下载 Django
Django 是什么?Django 是一个开放源代码的 Web 应用框架,我们将使用它支持我们的 Python Web 开发。
$ wget https://www.djangoproject.com/m/releases/1.11/Django-1.11.3.tar.gz
--2021-10-28 18:14:59--  https://www.djangoproject.com/m/releases/1.11/Django-1.11.3.tar.gz
Resolving www.djangoproject.com (www.djangoproject.com)... 151.101.74.132, 2a04:4e42:36::644
Connecting to www.djangoproject.com (www.djangoproject.com)|151.101.74.132|:443... connected.
ERROR: cannot verify www.djangoproject.com's certificate, issued by ‘/C=US/O=Let's Encrypt/CN=R3’:
  Issued certificate has expired.
To connect to www.djangoproject.com insecurely, use `--no-check-certificate'.
应该如下使用:
$ wget https://www.djangoproject.com/m/releases/1.11/Django-1.11.3.tar.gz --no-check-certificate
--2021-10-28 18:15:31--  https://www.djangoproject.com/m/releases/1.11/Django-1.11.3.tar.gz
Resolving www.djangoproject.com (www.djangoproject.com)... 151.101.74.132, 2a04:4e42:36::644
Connecting to www.djangoproject.com (www.djangoproject.com)|151.101.74.132|:443... connected.
WARNING: cannot verify www.djangoproject.com's certificate, issued by ‘/C=US/O=Let's Encrypt/CN=R3’:
  Issued certificate has expired.
HTTP request sent, awaiting response... 301 Moved Permanently
Location: https://media.djangoproject.com/releases/1.11/Django-1.11.3.tar.gz [following]
--2021-10-28 18:15:33--  https://media.djangoproject.com/releases/1.11/Django-1.11.3.tar.gz
Resolving media.djangoproject.com (media.djangoproject.com)... 151.101.230.132, 2a04:4e42:11::644
Connecting to media.djangoproject.com (media.djangoproject.com)|151.101.230.132|:443... connected.
WARNING: cannot verify media.djangoproject.com's certificate, issued by ‘/C=US/O=Let's Encrypt/CN=R3’:
  Issued certificate has expired.
HTTP request sent, awaiting response... 200 OK
Length: 7872014 (7.5M) [application/octet-stream]
Saving to: ‘Django-1.11.3.tar.gz’

100%[=========================================>] 7,872,014    182KB/s   in 30s

2021-10-28 18:16:07 (253 KB/s) - ‘Django-1.11.3.tar.gz’ saved [7872014/7872014]
解压 Django
$ tar -zxvf Django-1.11.3.tar.gz
安装 Django
$ echo $HOME
/root
$ ls
Django-1.11.3  Django-1.11.3.tar.gz
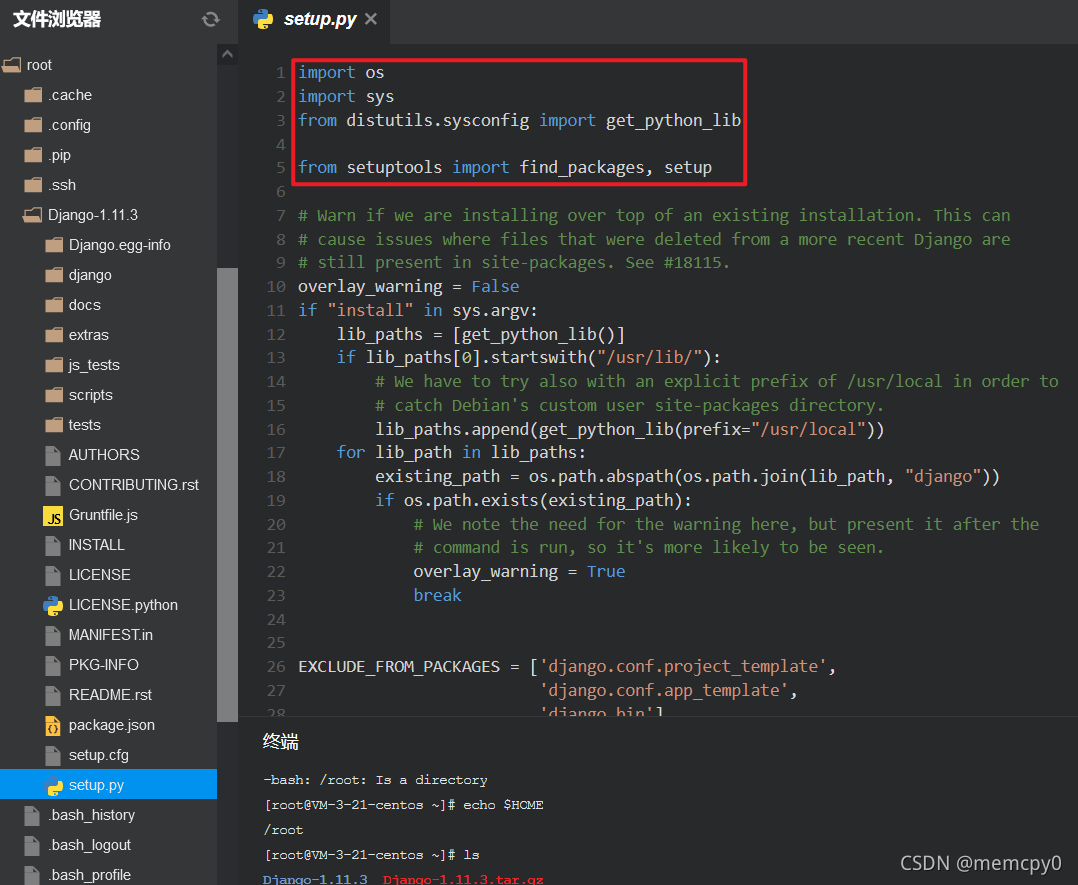
$ cd Django-1.11.3
$ python setup.py install
...
Finished processing dependencies for Django==1.11.3
项目运行
新建 HelloWorld 项目
我们需要一个项目来存放我们的 Python 文件
$ python /usr/lib/python2.7/site-packages/Django-1.11.3-py2.7.egg/django/bin/django-admin.py startproject HelloWorld
$ pwd
/root/Django-1.11.3
$ ls
AUTHORS           js_tests
build             LICENSE
CONTRIBUTING.rst  LICENSE.python
dist              MANIFEST.in
django            package.json
Django.egg-info   PKG-INFO
docs              README.rst
extras            scripts
Gruntfile.js      setup.cfg
HelloWorld        setup.py
INSTALL           tests
启动项目
进入项目文件夹
$ cd HelloWorld
内网启动 [本步骤非必要]:这里是我之前踩到的一个坑,我直接启动之后发现外网根本访问不到,然后看了一下,我是开放在127.0.0.1:8000的,所以你现在如果尝试访问你的外网 IP ,你是根本访问不到的。
$ python manage.py runserver
外网启动
首先我们将程序跑在80端口。我们访问:http://<您的 CVM IP 地址>/ 如 http://81.71.136.94/
$ python manage.py runserver 0.0.0.0:80
修改配置文件
我们发现提示因为安全问题不能访问,接下来我们修改配置
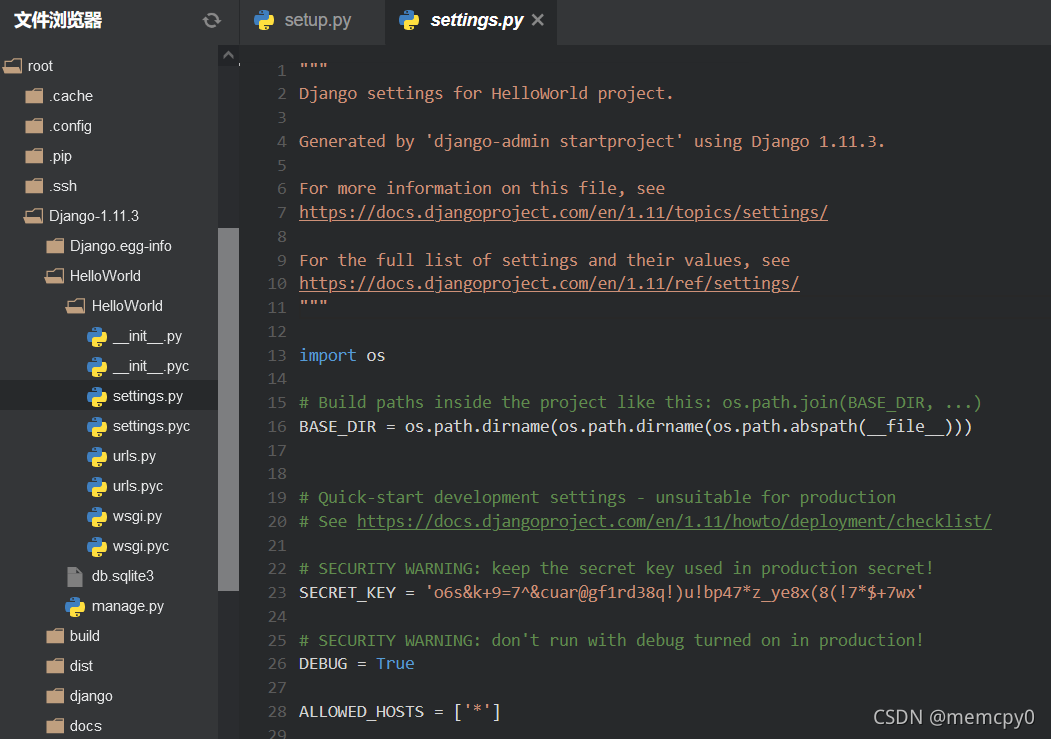
$ cd HelloWorld
$ vim settings.py # nano settings.py
在 settings.py 里,我们把:
ALLOWED_HOSTS = []
改成
ALLOWED_HOSTS = ['*']
重新启动
$ cd ../
$ python manage.py runserver 0.0.0.0:80
我们再次访问:
http://<您的 CVM IP 地址>/
如果和下图一致说明安装成功了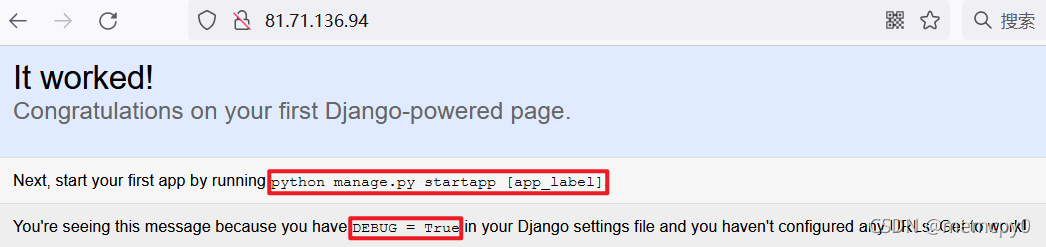

CSDN联合极客时间,共同打造面向开发者的精品内容学习社区,助力成长!
更多推荐


 0
0 0
0- 0


 已为社区贡献2条内容

所有评论(0)