Paddle Inference——基于python API实现Windows端模型部署图像分类
文章目录部署环境准备python环境准备(1)PaddlePaddle(2)opencv模型文件准备python API预测部署环境准备python环境准备(1)PaddlePaddle请参考飞桨官网安装2.0及以上版本的paddlepaddle-gpu。需要按照自己cuda的版本进行不同命令安装。(2)opencvpip install opencv-python模型文件准备首先你得有 图像分类
·
部署环境准备
python环境准备
(1)PaddlePaddle
请参考飞桨官网安装最新版本的paddlepaddle-gpu。
需要按照自己cuda的版本进行不同命令安装。
(2)opencv
pip install opencv-python
模型文件准备
首先你得有 图像分类 / 目标检测的分类模型,模型文件一般为两种,如图所示:
- 模型格式一:
__model__和__params__文件

- 模型格式二:Paddle的原生模型文件

python API预测
在这里,我使用了一个我自己训练的四分类的垃圾分类模型进行部署。采用GPU预测的方式加速预测速度:
import cv2
import numpy as np
from paddle.inference import Config
from paddle.inference import create_predictor
# ————————————————图像预处理函数————————————————
def resize_short(img, target_size):
""" resize_short """
percent = float(target_size) / min(img.shape[0], img.shape[1])
resized_width = int(round(img.shape[1] * percent))
resized_height = int(round(img.shape[0] * percent))
resized = cv2.resize(img, (resized_width, resized_height))
return resized
def crop_image(img, target_size, center):
""" crop_image """
height, width = img.shape[:2]
size = target_size
if center == True:
w_start = (width - size) / 2
h_start = (height - size) / 2
else:
w_start = np.random.randint(0, width - size + 1)
h_start = np.random.randint(0, height - size + 1)
w_end = w_start + size
h_end = h_start + size
img = img[int(h_start):int(h_end), int(w_start):int(w_end), :]
return img
def preprocess(img):
mean = [0.485, 0.456, 0.406]
std = [0.229, 0.224, 0.225]
img = resize_short(img, 224)
img = crop_image(img, 224, True)
# bgr-> rgb && hwc->chw
img = img[:, :, ::-1].astype('float32').transpose((2, 0, 1)) / 255
img_mean = np.array(mean).reshape((3, 1, 1))
img_std = np.array(std).reshape((3, 1, 1))
img -= img_mean
img /= img_std
return img[np.newaxis, :]
#——————————————————————模型配置、预测相关函数——————————————————————————
def predict_config(model_file, params_file):
# 根据预测部署的实际情况,设置Config
config = Config()
# 读取模型文件
config.set_prog_file(model_file)
config.set_params_file(params_file)
# Config默认是使用CPU预测,若要使用GPU预测,需要手动开启,设置运行的GPU卡号和分配的初始显存。
config.enable_use_gpu(500, 0)
# 可以设置开启IR优化、开启内存优化。
config.switch_ir_optim()
config.enable_memory_optim()
predictor = create_predictor(config)
return predictor
def predict(image, predictor):
img = preprocess(image)
input_names = predictor.get_input_names()
input_tensor = predictor.get_input_handle(input_names[0])
input_tensor.reshape(img.shape)
input_tensor.copy_from_cpu(img.copy())
# 执行Predictor
predictor.run()
# 获取输出
output_names = predictor.get_output_names()
output_tensor = predictor.get_output_handle(output_names[0])
output_data = output_tensor.copy_to_cpu()
print("output_names", output_names)
print("output_tensor", output_tensor)
print("output_data", output_data)
return output_data
# 展示结果
def post_res(label_dict, res):
res = res.tolist()
# print(type(res))
# print(max(res))
target_index = res.index(max(res))
print("结果是:" + " " + label_dict[target_index])
if __name__ == '__main__':
label_dict = {0:"metal", 1:"paper", 2:"plastic", 3:"glass"}
model_file = "PaddleInfence\model\ResNet50_trashClas_x86_model\__model__"
params_file = "PaddleInfence\model\ResNet50_trashClas_x86_model\__params__"
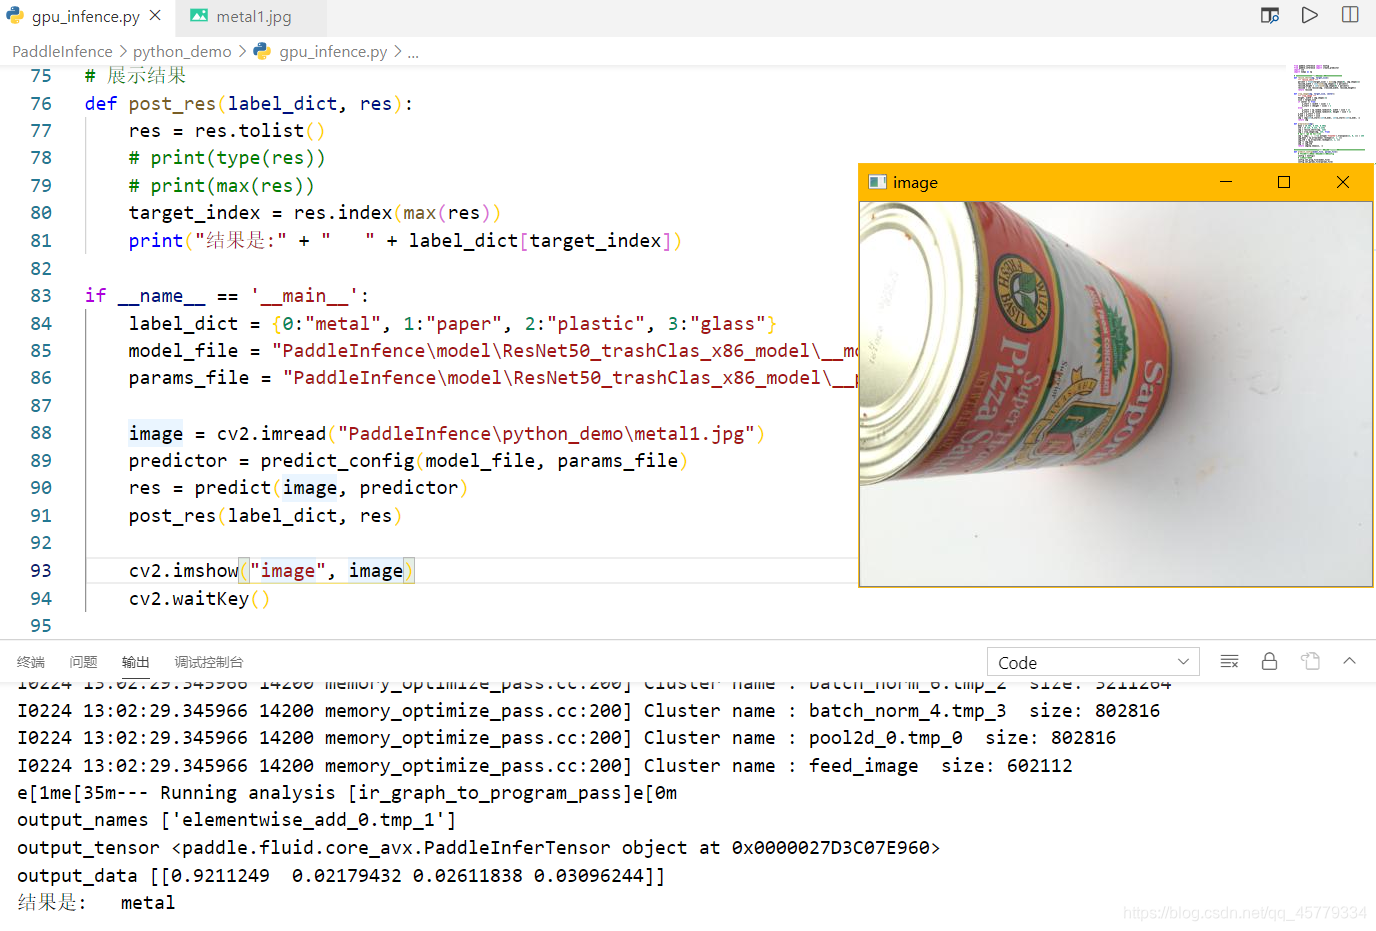
image = cv2.imread("PaddleInfence\python_demo\metal1.jpg")
predictor = predict_config(model_file, params_file)
res = predict(image, predictor)
post_res(label_dict, res)
cv2.imshow("image", image)
cv2.waitKey()
运行结果:
参考文档:

CSDN联合极客时间,共同打造面向开发者的精品内容学习社区,助力成长!
更多推荐


 3
3 0
0- 0


 已为社区贡献9条内容

所有评论(0)